Easy image transfer tutorial
Today’s tutorial was created by the talented Alana of Humunuku. Why didn’t I know image transfer was so easy? I can’t wait to try this on muslin bags for party favors.

Once I discovered how simple image transfer is, I wanted to customize every item in reach. This technique can be used in so many different ways. Think gift tags, invitations, party favors or even and art project for a rainy day. Try it, you’ll be hooked.
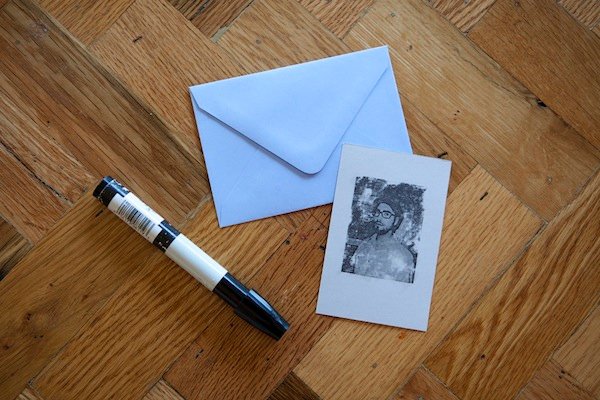
To make your own image transfer you’ll need:
– Photo Copy or Printed Image (printed with toner not ink jet ink)
– Something to print on. A card, paper, ribbon, tags, etc.
– Design Art Marker (Preferably the clear blending color or a light grey)
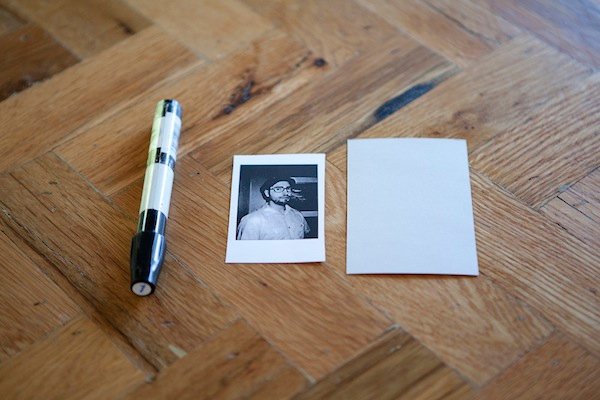
1. Make a photo copy of an image you’d like to transfer. If you are using something with words, you will want to reverse the image. A contrasty image seems to work best and is most clear.
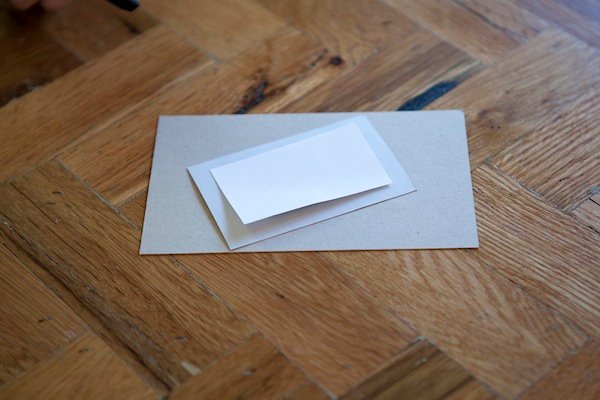
2. With toner side down, place the image on the surface you’d like to transfer the image to.
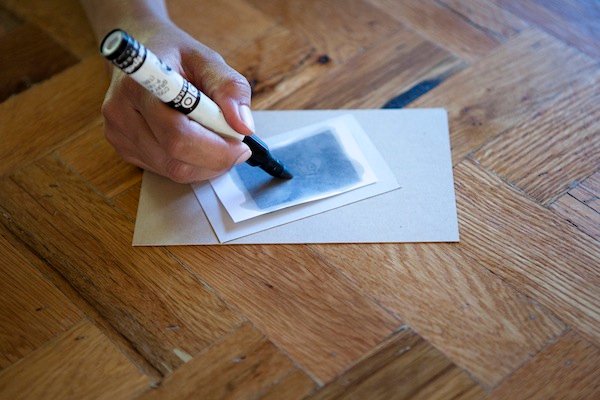
3. Using the designer art marker, ink up the entire back of the image, pressing down firmly. Sometimes I go over the important parts a few times to get it very saturated.

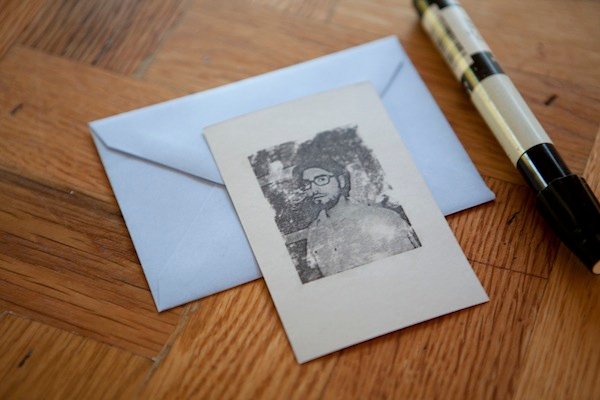
Remove the copy and it’s done. Easy!