Skip to content
Home
Blog
Crochet
Expand
Crochet Camp
Patterns
Tutorials
Books
Making It Work As A Designer
Work With Me
Adventure
Expand
Family
Food
Life at the Farm
About
Expand
About
Pattern Support
Toggle Menu
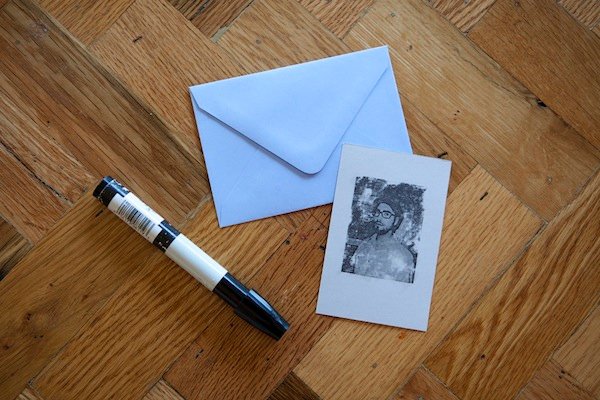
Easy image transfer tutorial
March 5, 2025
March 5, 2025
Pattern: Mermaid Tail
August 13, 2013
April 26, 2024
Guest Pattern: Granny Square Bag
July 21, 2013
April 25, 2024
Scroll to top
Scroll to top
Home
Blog
Crochet
Toggle child menu
Expand
Crochet Camp
Patterns
Tutorials
Books
Making It Work As A Designer
Work With Me
Adventure
Toggle child menu
Expand
Family
Food
Life at the Farm
About
Toggle child menu
Expand
About
Pattern Support